Cursive writing is a way to write letters that flow together. It’s like drawing lines that connect all the letters in a word without lifting your pencil. This style can make writing faster and look pretty. It’s called “A – Z Letters in Cursive” because it includes every letter from A to Z.
In this article, we will discuss A – Z Letters in Cursive. You’ll learn how each letter looks and some easy steps to start writing them by yourself. We will make it fun and easy to understand, just like drawing simple lines.
How to Write Letters in Cursive?
Upper Case Cursive Letters
Start with Basic Strokes: Learn the basic strokes like loops and curves. Practice each upper-case letter, starting with simpler ones like ‘L’ and ‘O’.
Connect Letters Smoothly: Focus on how each upper-case letter connects to the next. Practice writing pairs like ‘A’ to ‘B’ and ‘C’ to ‘D’.
Lower Case Cursive Letters
Master Fundamental Shapes: Lower-case letters often have similar shapes. Practice letters like ‘a’, ‘c’, and ‘e’ to get comfortable with common curves.
Practice Letter Connections: Lower-case letters connect closely. Practice writing short words, focusing on smooth transitions from one letter to the next.
Detailed Guide for Each Letter
A
Start at the bottom line. Move up to make a small loop. Go down to the bottom line, curve back up to the top line, and loop back down.
B
Start at the top line. Go down to the bottom line, then back up halfway. Make a loop to the right and curve back down.
C
Start at the middle line. Curve up to the top line, then down to the bottom line, making a half-circle shape.
D
Start at the bottom line. Go up to the top line, then loop back down and curve around to make a big loop.
E
Start at the middle line. Loop up to the top line, then curve down to the bottom line, making a backward loop.
F
Start at the top line. Go down to the bottom line, then back up halfway. Loop to the left, then cross with a small line in the middle.
G
Start at the middle line. Make a loop up to the top line, then down and curve back up to make a tail.
H
Start at the top line. Go down to the bottom line. Lift your pen, start at the middle line, and make a loop up to the top line and back down.
I
Start at the middle line. Go down to the bottom line, then make a small loop to the right.
J
Start at the middle line. Go down to the bottom line, curve left to make a hook, and add a dot on top.
K
Start at the top line. Go down to the bottom line. Lift your pen, make a loop starting at the middle line, and curve down to the bottom line.
L
Start at the top line. Go down to the bottom line, then loop to the right and curve back up.
M
Start at the bottom line. Go up to the top line, loop back down, then make another loop up and down.
N
Start at the bottom line. Go up to the top line, loop back down, and make a single curve up and down.
O
Start at the middle line. Loop up to the top line, then curve down to the bottom line and back up to the middle.
P
Start at the top line. Go down to the bottom line, then back up halfway and make a loop to the right.
Q
Start at the middle line. Loop up to the top line, then down and curve left with a small tail at the bottom.
R
Start at the top line. Go down to the bottom line, then back up halfway and make a small loop to the right.
S
Start at the middle line. Loop up to the top line, then curve down to the bottom line with a slight hook.
T
Start at the top line. Go down to the bottom line, then lift your pen and cross the middle line.
U
Start at the bottom line. Go up to the top line, loop back down and curve up to the middle line.
V
Start at the bottom line. Go up to the top line, then loop down and curve back up.
W
Start at the bottom line. Go up to the top line, loop down, then make another loop up and down.
X
Start at the middle line. Loop down to the bottom line, then make a small loop from left to right.
Y
Start at the bottom line. Go up to the top line, loop down, then curve back up and make a tail.
Z
Start at the middle line. Loop up to the top line, then curve down to the bottom line with a slight hook.
Practice each letter by writing it multiple times. This will help you get better at writing “A – Z Letters in Cursive“!
Tips for Effective Cursive Writing
- Practice Regularly: Dedicate time each day to practice writing the A – Z Letters in Cursive. Use a practice pad with lined paper to help maintain uniform size and shape of letters.
- Correct Pencil Grip: Use a tripod grip, where the pencil rests between your thumb and forefinger, supported by your middle finger. This grip allows for more controlled and fluid movements.
- Proper Posture: Sit at a desk with your back straight and feet flat on the floor. Position the paper at a slight angle to align with your writing arm, reducing strain on your wrist.
- Letter Formation: Start with individual letters. Focus on the stroke order and direction. Once comfortable, begin connecting letters to form words.
- Smooth Connections: Learn how to connect letters smoothly. Each letter should lead seamlessly into the next without lifting the pencil unnecessarily.
- Maintain Consistent Slant: Ensure all your letters slant in the same direction at a consistent angle. This gives your writing a uniform and aesthetic appearance.
- Adjust Writing Speed: Start slow to focus on form and accuracy. As you become more skilled, you can increase your writing speed while maintaining legibility.
- Use Quality Tools: Invest in a good quality pen or pencil and smooth paper. These tools can make practicing cursive writing more enjoyable and effective.
- Review and Correct: After writing, review your work. Look for letters or connections that need improvement and practice those areas specifically.
- Patience and Persistence: Mastering cursive writing takes time. Be patient with your progress and persist through challenging letters or connections.
A to Z Cursive Writing With On4t Cursive letters
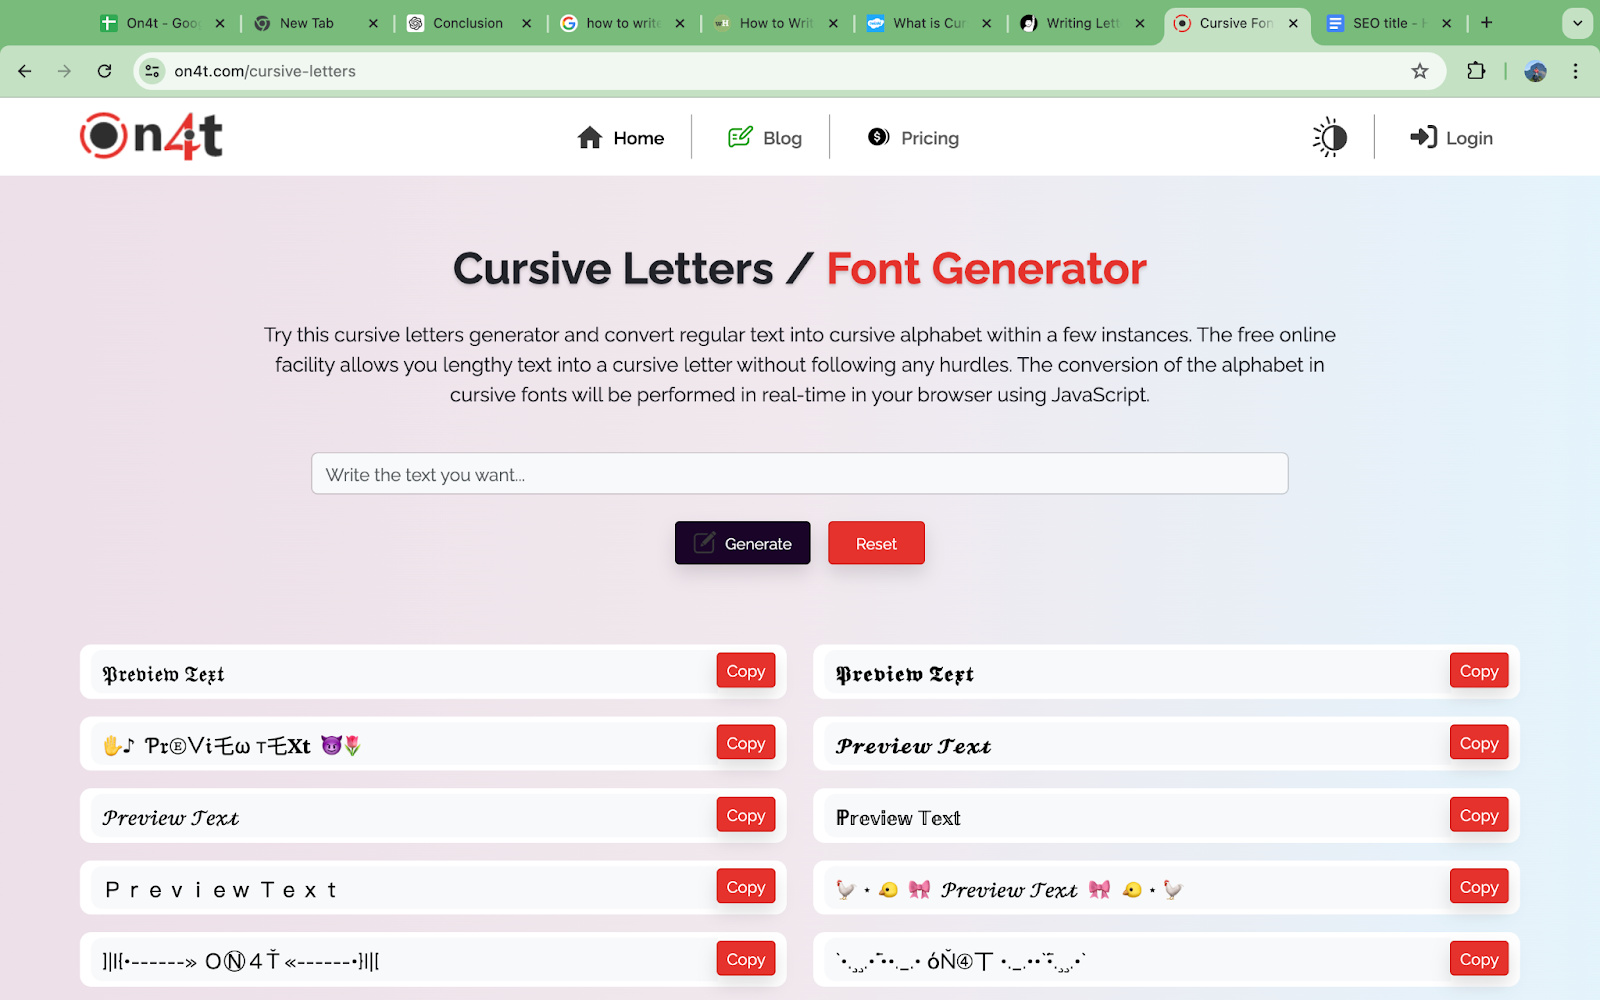
Using A to Z Letters in Cursive is fun and easy with On4t Cursive letters. You can name your files with beautiful, flowing text instead of plain letters. This makes your files look special and unique.
Invitations and cards look more attractive with cursive writing. Our cursive letters can be used on flyers, invitation cards, and even visual emblems. They make everything look fancy and pretty.
The Unicode cursive creator helps you make cursive words for social media. You can use these cursive letters on Instagram, Twitter, and Facebook to make your posts stand out. Enjoy using A to Z Letters in Cursive with On4t!
FAQs
What are cursive letters?
Cursive letters are joined-up writing styles that flow together in a connected script.
Why use cursive letters?
Cursive writing is often used for its fluidity and aesthetic appeal in personal and formal correspondence.
How do you learn cursive writing?
Learning cursive involves practicing each letter’s unique strokes and connections for legible and elegant writing.
Where can I find examples of cursive letters?
You can find examples of cursive letters in handwriting practice sheets, calligraphy guides, and online tutorials.
Conclusion
We learned how to write A to Z letters in cursive. Start with simple strokes and connect the letters smoothly. Practice each letter slowly and carefully. Cursive writing helps your handwriting look beautiful and neat.
Remember to practice a little every day. Use lined paper to keep your letters straight. Hold your pencil comfortably and relax your hand. Writing in cursive is fun and looks like art. Keep practicing, and soon you will write all the letters perfectly. Enjoy the process and see your improvement!