Learning how to write in cursive can be fun! When you teach cursive letters, it’s important to follow a certain order so it’s easier to learn. This helps in connecting the letters smoothly and makes your writing look really neat!
In this article, we will discuss what order to teach cursive letters. We’ll look at the best ways to start, which letters to learn first, and how to make sure your cursive writing is beautiful. Join us to make your cursive writing the best it can be!
Why Teach Cursive in a Specific Order?
Teaching cursive in a specific order helps kids learn better. When kids know “What Order to Teach Cursive Letters,” they can practice easier letters first. This builds their confidence and makes learning fun.
Starting with simple letters, like ‘c’ and ‘a,’ helps children get used to the movements. As they get better, they can try harder letters. This way, they don’t get frustrated.
Knowing What Order to Teach Cursive Letters also helps kids remember how to write them. They see patterns and understand how letters connect. This makes their writing smooth and neat.
Grouping Letters by Shape
Wave Letters
Start with letters that begin with a wave-like stroke (c, a, d, g, q). These letters are simple to write and help children get comfortable with cursive writing.

Loop Letters
Follow with letters that begin with a loop (b, e, f, h, k, l). Teaching these next builds on the wave letters, introducing a smooth looping motion.
Hump Letters
Next, teach letters that have a hump-like formation (m, n, v, w, x, y, z). These letters add a new shape for kids to master, making their writing more diverse.
Castle Letters
Lastly, introduce letters that come up to a sharp point before continuing (i, j, t, u). These letters complete the set, challenging kids to perfect their cursive skills.
Teaching Tips and Techniques
Teaching Tips and Techniques are ways to make learning fun and easy. When teaching kids, start with simple ideas. Break lessons into small steps. Use games and songs to keep children interested. Praise their efforts often.
When thinking about What Order to Teach Cursive Letters, start with easy letters like ‘i’ and ‘t.’ These letters are simple and help build confidence. Move to harder letters later. Always practice with patience.
Create Cursive Fonts Easily with On4t
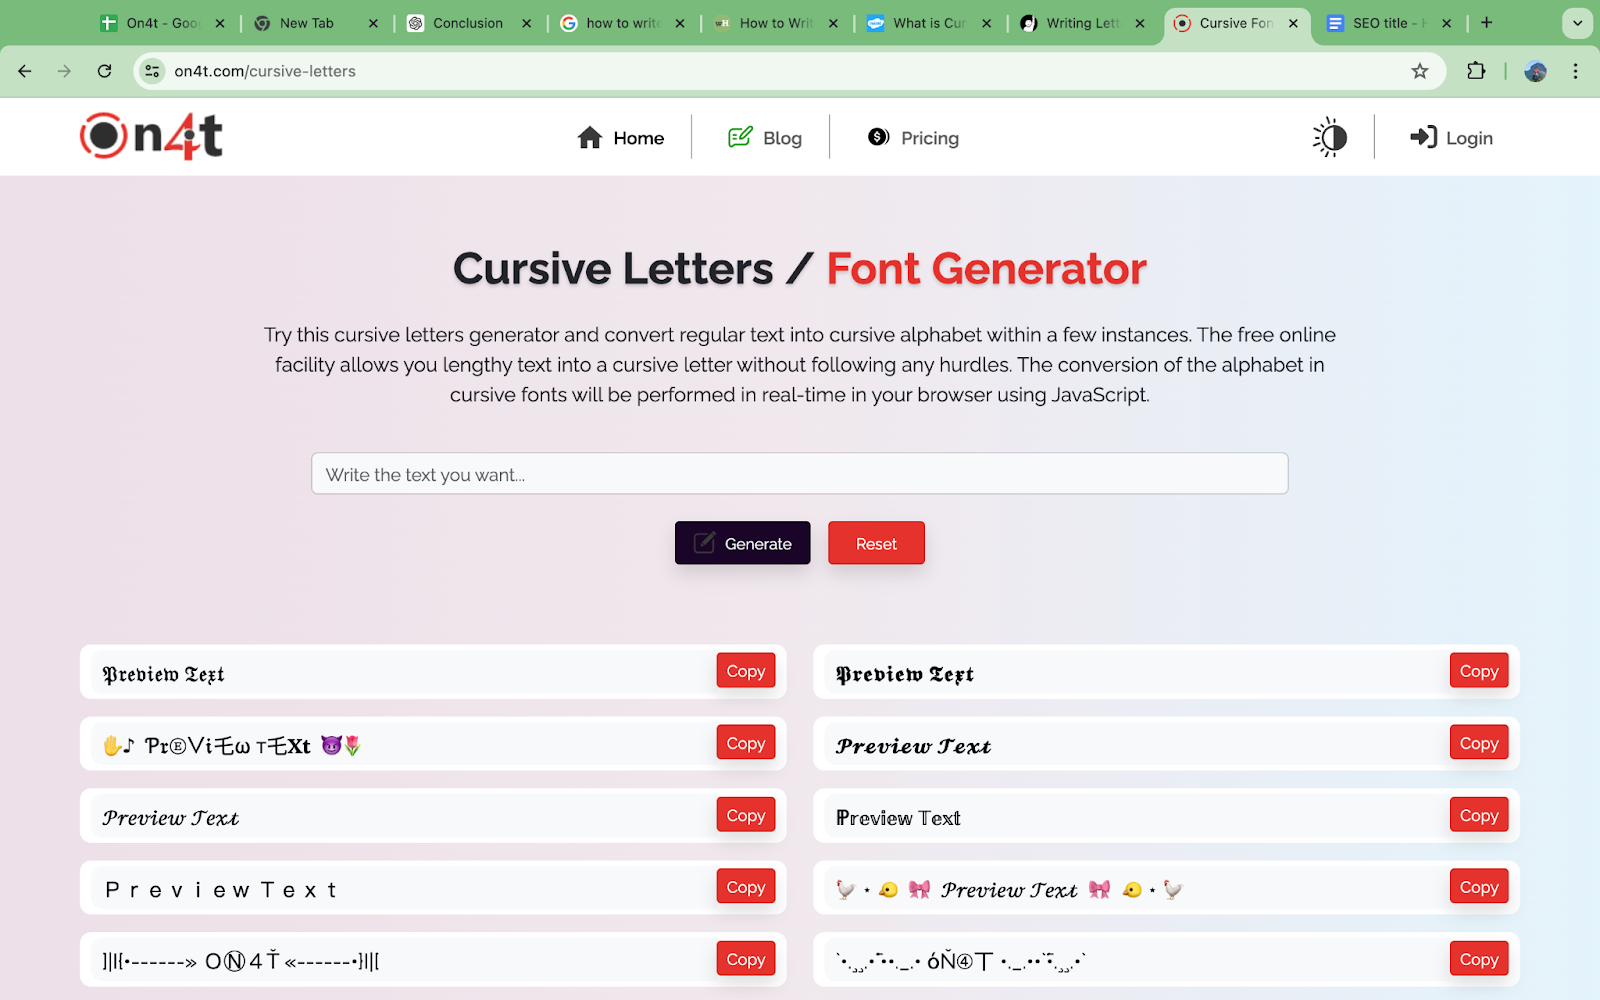
Use the Cursive Text feature on On4t to make beautiful, flowing letters. For text that stands out, try Bold Italics Text (Serif). For a unique look, you can use Bold Cursive Text.
On4t is very user-friendly. You don’t need any special skills to create amazing cursive fonts. Just pick the style you like and start typing. It’s perfect for making your text look fancy and interesting.
Learning to write in cursive is easy with On4t. It helps you understand “What Order to Teach Cursive Letters” and makes the process enjoyable. Give it a try and see how creative you can be with your writing!
FAQs
Should I teach cursive letters in a specific order?
Start with simpler letters like ‘c’ and ‘a’, then move to more complex ones like ‘z’ and ‘g’.
What’s the best order for teaching cursive letters?
Begin with lowercase letters that flow naturally from print, then progress to uppercase and trickier joins.
Can I skip teaching certain cursive letters?
Focus on foundational letters first, but ensure all are covered to build fluency in cursive writing.
How can I reinforce cursive letter order at home?
Use worksheets and practice sheets that follow a systematic progression from simpler to more complex letters.
Conclusion
Start by teaching simple and easy letters like “c”, “a”, and “o”. Then, move to letters that have similar shapes, like “g” and “d”. After that, teach letters with lines, like “l” and “t”. Finally, teach the more complicated letters like “b” and “f”.
This order helps kids learn step by step. They get better at writing and feel more confident. Keep practicing and have fun with it. Cursive writing can be easy and fun when you follow these steps.