
Everyone has that one photo: a great moment captured in terrible quality. Maybe it was taken on an old phone, downloaded from a chat app that compressed it, or cropped too aggressively. The details are gone, the edges are soft, and printing or sharing it feels pointless. An AI image upscaler exists for exactly this situation, rebuilding resolution and sharpness so a tired photo looks presentable again.
This guide explains what upscaling actually does, where it shines, how to use it step by step, and what to realistically expect from the results along the way.
What Image Upscaling Actually Does
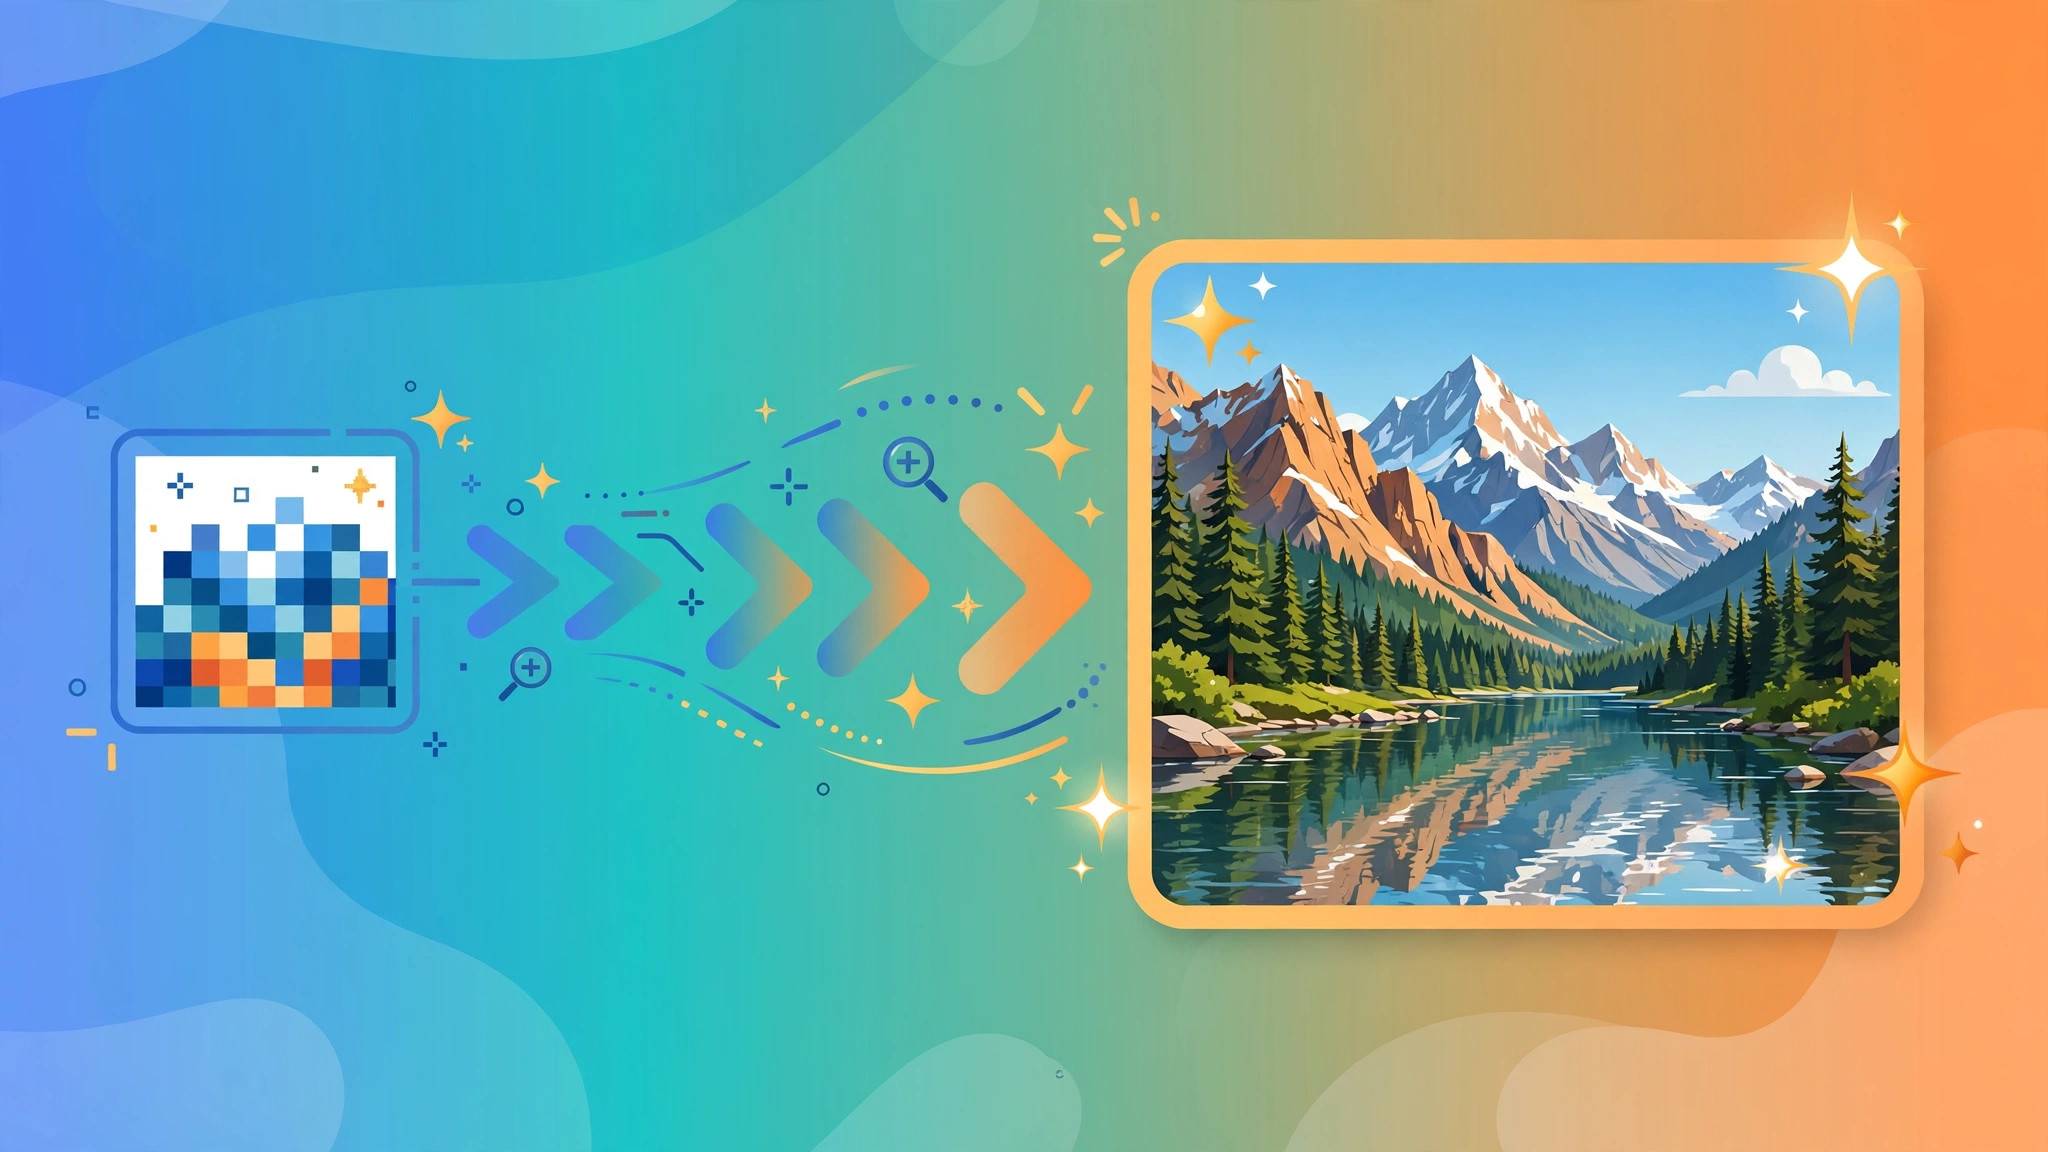
Upscaling increases an image’s pixel dimensions while trying to keep it looking natural. A 800-pixel-wide photo might become 3200 pixels wide. The hard part is filling in the new pixels sensibly. Old-fashioned methods just stretched the image, which is why enlarged photos used to look blurry and blocky.
Modern AI upscalers work differently. They analyze the image, recognize what things are (an eye, a leaf, text on a sign), and reconstruct detail in a way that matches the original content. The result is noticeably sharper than simple stretching, especially on photos with clear subjects.
It is worth being honest about the limits. Upscaling recovers and enhances detail, but it cannot invent information that was never captured. A face that is four pixels wide will never become a portrait. What it can do is make moderately soft photos crisp, remove compression mush, and prepare images for larger displays or print.
Upscaling vs Simple Resizing
Every image editor can resize a photo, so what makes an AI upscaler different? Simple resizing uses basic math to guess new pixel values, usually by averaging neighbors. That works fine for shrinking images, but enlarging with the same math produces soft, blurry results. AI upscalers instead use models trained on millions of photos to recognize textures, edges, and patterns, then reconstruct them convincingly at higher resolution. The difference is most visible in fine detail: hair strands, fabric texture, and small text all survive AI upscaling far better than basic resizing. If you have ever enlarged a photo in a regular editor and been disappointed, an AI upscaler is the tool that was missing.
When Upscaling Helps Most
- Old phone photos. Pictures from older devices often look fine on a small screen but fall apart on a monitor. Upscaling makes them usable again.
- Compressed chat images. Messaging apps shrink photos aggressively. An upscaler can undo much of that damage.
- Cropped shots. Cropping throws away pixels. Upscaling the crop brings the remaining detail back up to a shareable size.
- Product and listing photos. Clearer product images look more trustworthy in online shops and marketplaces.
- Print projects. Flyers, posters, and photo prints need high resolution. Upscaling bridges the gap when the source file is small.
- Thumbnails and banners. A crisp banner makes a channel or profile look far more professional.
How to Use an AI Image Upscaler
- Upload your photo. Drag the image into the tool or click to browse your files. Common formats like JPG, PNG, and WebP are supported.
- Let it process. The tool analyzes and enhances the image automatically. Most photos finish within seconds.
- Preview the result. Compare the enhanced version against the original. Zoom in on important details like faces and text.
- Download. Save the upscaled image to your device. Run a second pass if you need an even larger size.
No editing skills are required. The entire process is upload, wait, and download, which makes it practical for anyone, not just designers.
Features That Matter
- Automatic enhancement. The tool handles noise reduction, sharpening, and detail recovery on its own.
- Multiple formats. Works with the formats people actually use every day, on phones and computers alike.
- Fast processing. Cloud-based processing returns results in seconds, even for larger files.
- No watermark. The enhanced photo is yours to use, with nothing stamped across it.
- Private by design. Images are processed temporarily and deleted afterward rather than stored.
- Free access. Upscale photos without subscriptions, credits, or paywalls.
Pro Tips for Better Upscale Results
- Start with the best original you have. If the same photo exists in a chat download and in your camera roll, use the camera roll version. Less compression means better results.
- Upscale before editing. If you plan to crop or color-correct, do the upscale first so your edits work on the sharper version.
- Check faces closely. AI can occasionally smooth faces too much. Preview at full zoom and keep the version that looks most natural.
- Match the size to the use. A social media post needs far less resolution than a poster. Do not upscale ten times beyond what the job needs.
- Keep a copy of the original. Save the original alongside the enhanced version so you can compare or reprocess later.
- Batch similar photos together. If you are preparing product shots, run the whole set for a consistent look.
- Fix lighting separately. Upscaling sharpens detail but does not fix bad exposure. Adjust brightness first in any photo app, then upscale for the cleanest result.
Common Mistakes to Avoid
- Expecting miracles from tiny images. Upscaling improves photos; it cannot rebuild a photo that was never there.
- Upscaling screenshots of text. Text upscales poorly compared to photos. Re-export the original document instead when possible.
- Over-processing. Running five passes can create an artificial, waxy look. One or two passes is usually the sweet spot.
- Ignoring the preview. Always compare before downloading. A quick look catches the rare case where the tool guesses wrong.
- Using upscaled images for evidence. Enhanced detail is reconstructed, not original. Do not rely on it where authenticity matters.
Frequently Asked Questions
What is an image upscaler?
It is a tool that increases a photo’s resolution and sharpness, turning small or blurry images into clearer, larger versions.
Is it free to use?
Yes. The upscaler is free, with no signup required and no watermark on the results.
Which formats are supported?
Common formats such as JPG, PNG, and WebP are supported across phones, tablets, and computers.
How long does upscaling take?
Most photos finish within a few seconds, depending on file size and complexity.
Will it work on very blurry photos?
It improves them noticeably, but extremely blurred images have limited recoverable detail. Results are best on moderately soft photos.
Is my photo kept private?
Images are processed temporarily and deleted after enhancement, so they are not stored or shared.
Can I upscale an image more than once?
Yes, you can run a second pass for an even larger size, but check the preview each time. One or two passes usually give the best balance of sharpness and natural look.
Does upscaling work on screenshots?
It works best on photos. Screenshots with lots of text upscale less cleanly, so re-exporting the original document is usually the better option for documents and slides.
Final Thoughts
A good photo should not stay trapped in a tiny, blurry file. An AI image upscaler gives those photos a second life, quickly and without any editing skill. Upload the original, preview the result, and keep the version that looks right. Sometimes the best photo you have is the one you already took, and it deserves to be seen clearly.