
Crop Image: Trim Your Photos to Perfection Free in 2026
Intro
A badly framed photo can hide a great shot. Cropping lets you cut away the clutter, fix the composition, and reshape an image for whatever you need it for. With Crop Image, you can crop pictures right in your browser — upload your photo, pick your area, and download the result. No software to install, no signup to open the page.
In this guide, you will learn how cropping works, how to crop an image step by step, which features matter, and the mistakes to avoid.
What Is Cropping an Image?
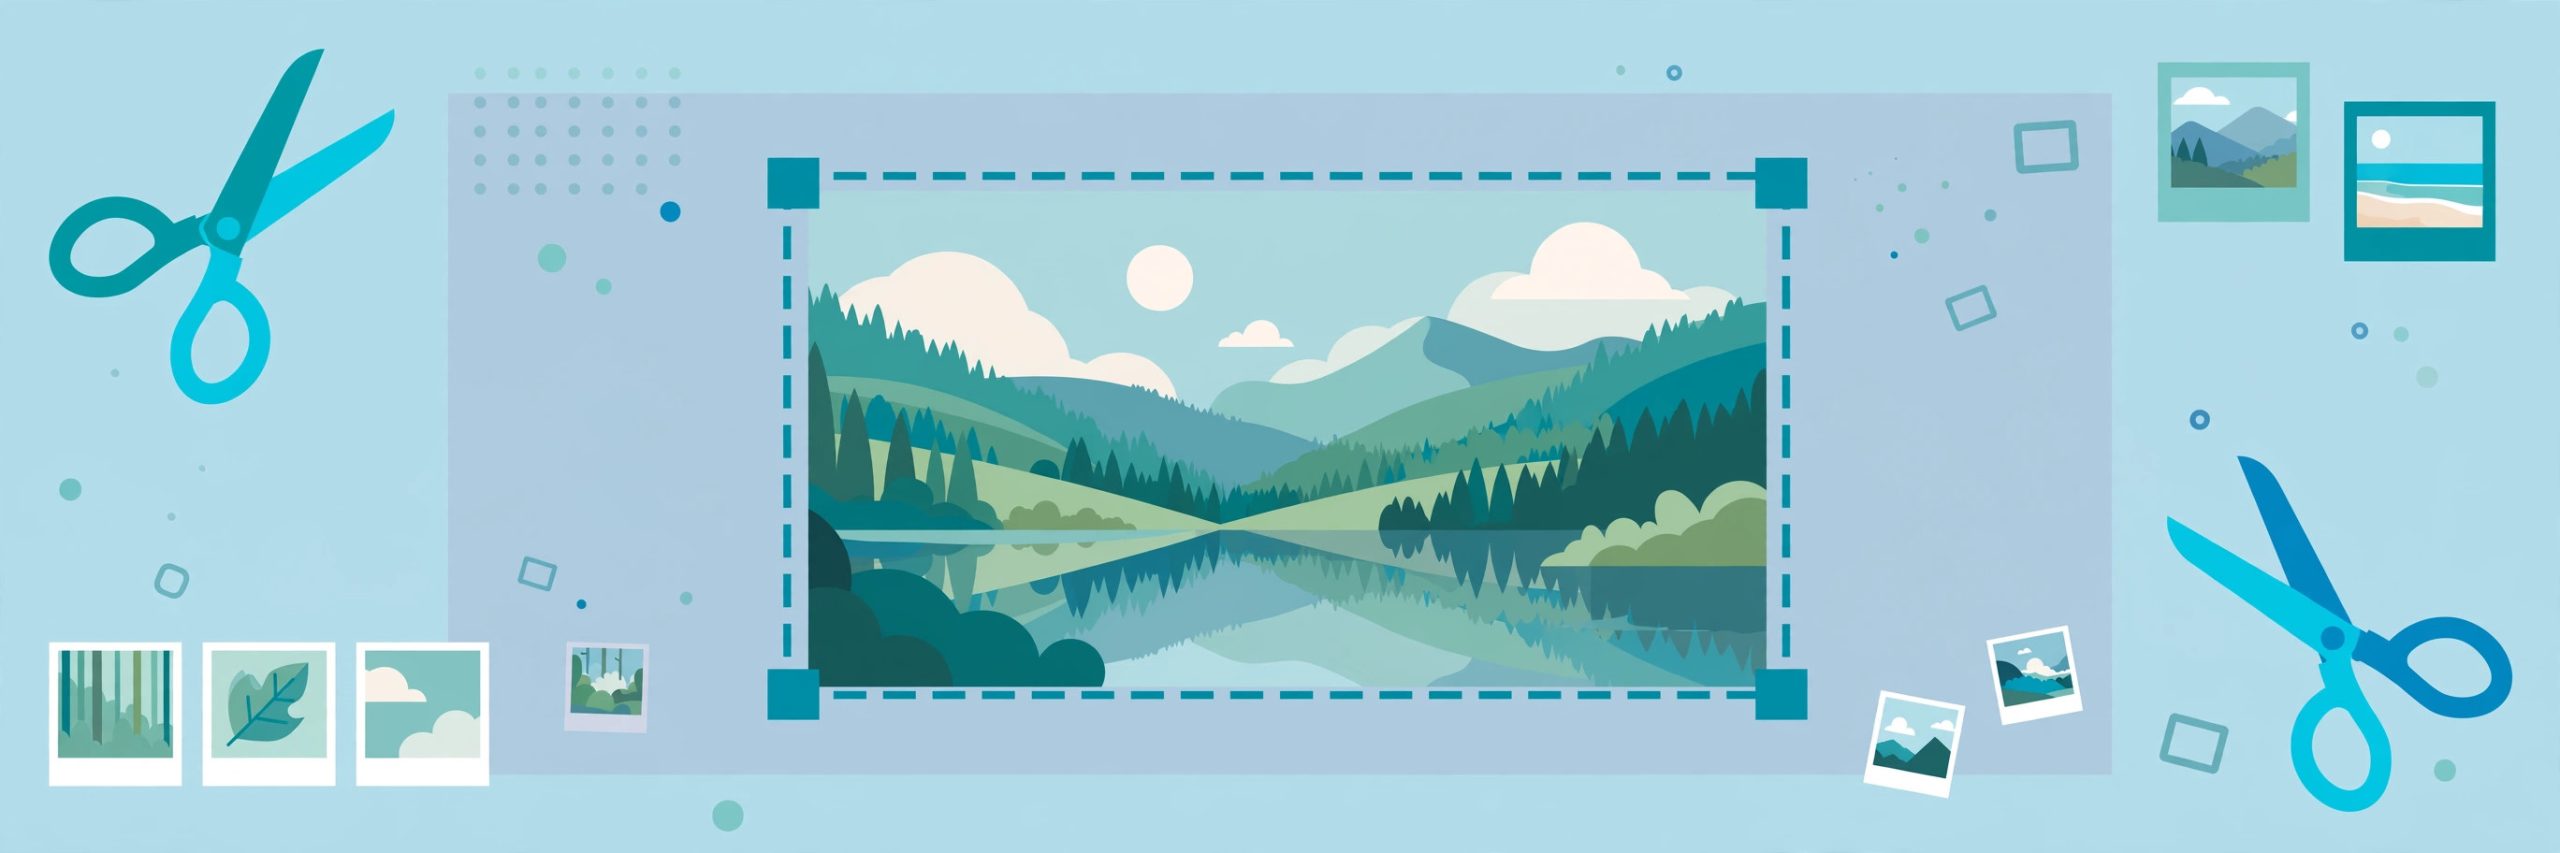
Cropping means trimming the edges of a picture to keep only the part you want. Think of it like cutting a photo with scissors, except you can undo and redo it as many times as you like until it looks right.
Photographers crop to improve composition, draw attention to the subject, or change an image’s shape. Cropping is different from resizing: resizing keeps the whole picture and makes it smaller or bigger, while cropping removes parts of the picture entirely.
When Should You Crop a Photo?
Cropping is useful more often than most people realize:
- Remove distractions — cut out photobombers, stray objects, or messy backgrounds at the edges.
- Fix composition — reposition your subject closer to the rule-of-thirds lines for a more balanced look.
- Change aspect ratio — turn a wide landscape shot into a square for a profile picture, or a vertical for a story.
- Focus attention — zoom into the interesting part of the image when the full frame feels empty.
- Prepare for uploads — many forms and platforms ask for a specific crop of your photo.
How to Crop an Image Step by Step
Using a free online cropper is straightforward. Here is the typical process:
Step 1: Open the crop tool in your browser.
Go to the Crop Image tool page on any modern browser. The tool loads as a web page, so there is nothing to download or install.
Step 2: Upload your photo.
Click the upload button and pick the image from your device. Common formats such as JPG and PNG are accepted.
Step 3: Drag the crop box.
A selection frame appears over your photo. Drag its edges or corners to mark the area you want to keep. Everything outside the frame will be removed.
Step 4: Set the aspect ratio (optional).
If you need a specific shape — square, 16:9, 4:3, or freeform — choose it before finalizing. A fixed ratio keeps your crop consistent, while freeform gives you full control.
Step 5: Preview and adjust.
Move the box around until the framing looks right. This is the moment to check that no important detail is sitting too close to the edge.
Step 6: Apply the crop and download.
Confirm the crop, then download your new image. Save it to your device and use it wherever you need it.
Key Features of a Good Online Crop Tool
Not every cropping page is worth your time. Here is what to look for:
- Free to use — the basic crop should not cost anything or hide behind a paywall.
- No signup required — you should be able to open the page and crop immediately.
- Drag-and-drop upload — dropping a file onto the page is faster than browsing folders.
- Adjustable crop frame — freely resizable handles on all sides and corners.
- Preset aspect ratios — quick options for square, portrait, and widescreen shapes.
- Format support — works with the common image formats you actually use.
- Instant download — the cropped image saves to your device in one click.
- No watermark — a crop tool should not stamp anything on your photo.
Cropping Tips for Better Results
- Crop with purpose — decide what the crop is for before you start. A profile photo and a website banner need different shapes.
- Keep a safety margin — leave a little breathing room around faces and key details so nothing looks cut off.
- Watch the resolution — cropping reduces pixel count. Starting from a larger image keeps the cropped result sharp.
- Use the rule of thirds — place your subject along the imaginary third-lines of the frame for a natural, balanced composition.
- Mind the edges — check all four sides of the crop frame for half-cut objects or distracting slivers.
- Try portrait and landscape — rotating your crop shape can turn an average shot into a striking one.
- Save the original — always keep your unedited photo so you can re-crop differently later.
Common Cropping Mistakes to Avoid
- Cropping too tightly — cutting right against the subject’s outline leaves no room to breathe and looks accidental.
- Ignoring aspect ratios — a freeform crop may look fine on screen but get auto-cropped again by the platform you upload it to.
- Losing resolution — a tiny crop from a small photo turns blurry when viewed large. Start with the highest-resolution original you have.
- Cropping away context — removing everything around a subject can make the photo feel cramped or hard to read.
- Forgetting orientation — a vertical crop from a horizontal photo may leave you with less detail than expected; plan for the shape you need.
- Skipping the preview — always look at the full cropped result before downloading, not just the selection box.
- Overwriting the original — save cropped versions as new files so you never lose the unedited image.
Frequently Asked Questions
Does cropping an image reduce its quality?
Cropping itself does not add blur, but it does reduce the total pixel count because you are keeping fewer pixels. Starting from a high-resolution photo keeps the cropped result sharp.
What is the difference between cropping and resizing?
Cropping removes parts of the image, changing what is shown. Resizing keeps the whole image and changes its dimensions. Use cropping to reframe, resizing to scale.
Can I crop an image without losing quality?
You cannot keep the same pixel count after cutting away pixels, but if the original is large, the cropped version can still be crisp. Avoid cropping a small section of an already small image.
Which aspect ratio should I use?
It depends on the destination. Squares suit profile pictures, 16:9 suits wide banners and videos thumbnails, and 4:5 or vertical shapes suit stories and reels. A freeform crop works when no fixed shape is needed.
Do I need to install software to crop photos?
No. Browser-based crop tools run on the web page, so you can upload, crop, and download without installing anything on your device.
Is it free to crop images online?
Many online crop tools are free to use for basic cropping, including the tool described in this guide. You open the page, crop your photo, and download the result at no cost.
Will cropping work on my phone?
Most browser-based crop tools work on mobile browsers too. The drag handles may feel smaller on a phone screen, so zoom in or take your time positioning the frame.
Conclusion
Cropping is one of the simplest edits you can make, and it often makes the biggest difference. Cutting away distractions, fixing the framing, and shaping a photo for its destination takes only a minute — and it can turn a throwaway snapshot into an image worth sharing.
Next time a photo feels almost right, give it a quick crop with Crop Image and see how much better it looks. Your photos, your social posts, and your documents will all benefit from cleaner, better-framed images.