
Ever tried to enlarge a small photo, only to end up with a blurry, pixelated mess? It happens to everyone. Screenshots, old phone photos, and downloaded thumbnails look fine at their original size, but the moment you try to use them for a print, a banner, or a full-screen display, they fall apart. A free online Image Upscaler can help you enlarge those pictures right in your browser — no software to install and no account needed to open the page.
In this guide, you will learn what image upscaling is, how the On4t Image Upscaler works, and the exact steps to enlarge your own photos. You will also find practical tips, common mistakes to avoid, and answers to frequently asked questions.
What Is an Image Upscaler?
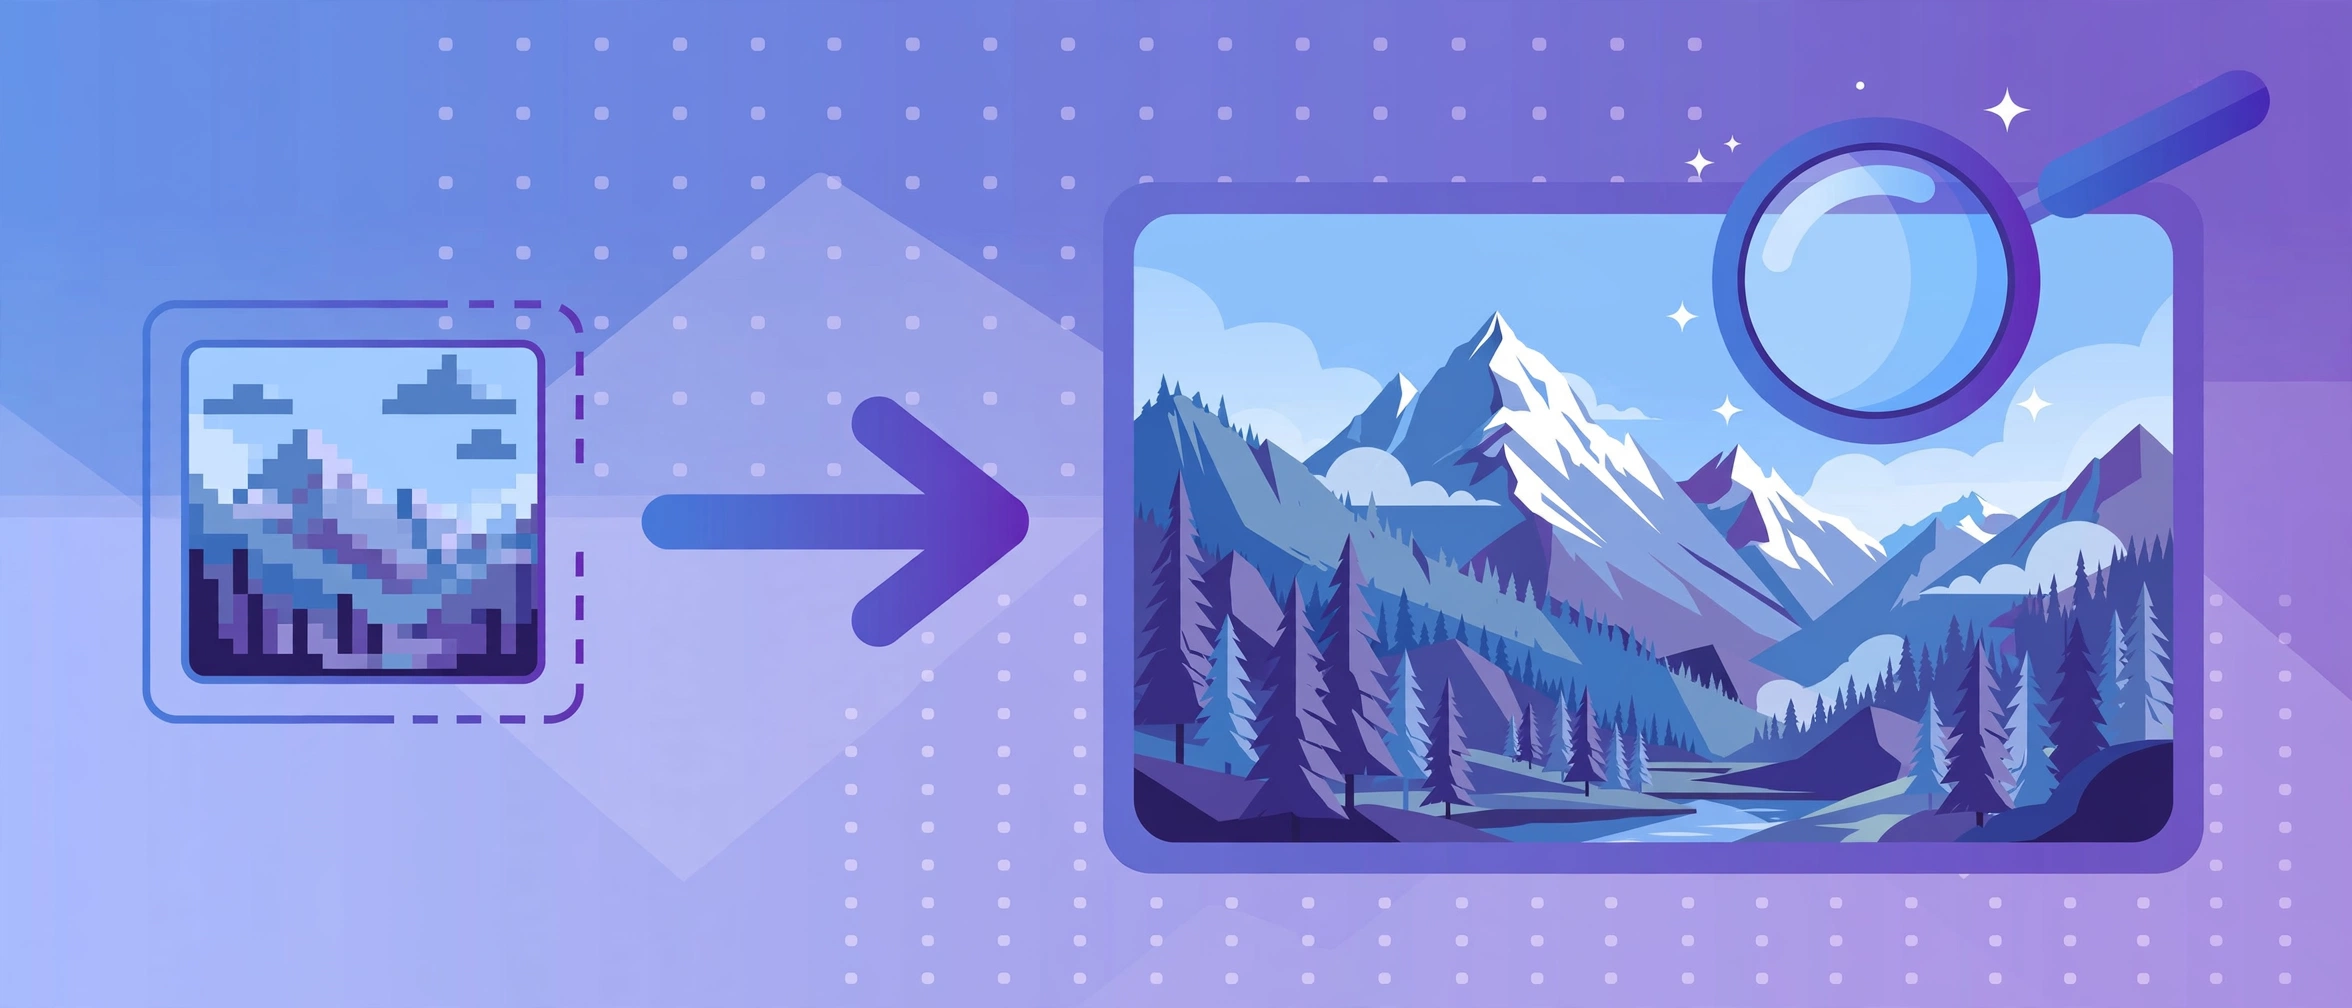
An image upscaler is a tool that increases the pixel dimensions of a photo. A 640 × 480 picture, for example, can be enlarged to 1280 × 960 or even bigger. Simple resizing stretches the existing pixels, which is why the result often looks blurry. Modern upscaling tools use machine learning models that analyze the image and try to reconstruct detail as they add new pixels, so edges look smoother and textures look cleaner than plain resizing would produce.
This is different from an image compressor or a photo resizer. Those tools shrink files or change dimensions. An upscaler goes the other direction: it makes the picture bigger while trying to preserve — and in some cases sharpen — the visible detail. Keep your expectations realistic, though. Upscaling works from the information already present in the original file. It can produce a noticeably cleaner large image, but it cannot recover detail that was never captured in the first place.
When Should You Upscale an Image?
Old or low-resolution photos: Pictures taken years ago on early smartphone cameras are often too small for modern displays. Upscaling can make them usable again for viewing on large screens.
Printing: Printers need far more pixels than screens. A photo that looks fine on your phone may print as a blurry block at poster size. Enlarging the image before printing gives the printer more data to work with.
E-commerce and product listings: Marketplaces usually require minimum image dimensions. If your supplier sent small product photos, upscaling them can bring the files up to the platform’s size requirements.
Presentations and designs: Low-resolution screenshots dropped into slides or website banners look unprofessional. Upscaling the asset before placing it helps the whole design look sharper.
How to Use the On4t Image Upscaler: Step-by-Step
The Image Upscaler is a free web-based tool. You open it in your browser, upload your picture, and download the enlarged result. Here is how the process works:
Step 1: Open the tool in your browser
Navigate to the Image Upscaler page on the On4t website. The tool loads directly in the browser — there is nothing to download or install, and you do not need to sign up just to open the page.
Step 2: Upload your image
Click the upload button (or drag and drop) and select the photo you want to enlarge. For best results, start with the highest-quality version you have. A clean, well-exposed original gives the upscaling process more real detail to work from.
Step 3: Choose your settings
Select how much you want to enlarge the picture — typically 2x or 4x the original dimensions. Pick the output format you need, such as JPG or PNG, depending on where the final image will be used.
Step 4: Process the image
Start the upscaling and wait for the processing to finish. This usually takes seconds for typical photos. Once done, preview the result and compare it with the original at full size.
Step 5: Download your enlarged photo
Save the upscaled image to your device. Check the file at 100% zoom to make sure the result looks the way you want before using it in your project.
Key Features to Know About
Browser-based workflow: Everything happens on the tool’s web page. You can use it on a laptop, tablet, or phone without installing an app.
No sign-up to open the page: The tool page opens directly, so you can start uploading right away.
2x and 4x enlargement options: You choose the scale factor based on how large the final image needs to be. Doubling is enough for screen use; quadrupling suits print-sized output.
Detail reconstruction: The tool’s processing aims to smooth edges and refine textures as it enlarges, producing a cleaner result than simple pixel stretching.
Multiple format support: Common image formats such as JPG and PNG are supported for upload, and you can pick your preferred download format.
Practical Tips for Better Results
Start with the best original you have. Upscaling cannot add information that is missing. A photo that is in focus and well lit will enlarge far more convincingly than one that is already noisy or heavily compressed.
Do not upscale more than you need. Enlarging to 4x when 2x would do only adds processing time and can exaggerate minor flaws. Match the scale factor to the actual use — a screen background rarely needs print-scale dimensions.
Fix major problems first. Crop out unwanted areas, straighten the horizon, and correct the exposure before upscaling. Enlarging a photo also enlarges its flaws, so clean up the original first.
Use PNG for graphics and text. If your image contains logos, screenshots, or text, downloading as PNG preserves crisp edges. Photographs usually work fine as high-quality JPG files.
Compare at 100% zoom. Always inspect the upscaled result at actual size before committing to it. What looks good in a small preview may reveal soft areas when viewed full screen.
Keep a copy of the original. Save the upscaled version as a new file rather than overwriting the source. You may want to try different settings later.
Common Mistakes to Avoid
Expecting miracles from tiny thumbnails. A 150-pixel icon will not become a sharp 4K wallpaper. Upscaling improves low-resolution images, but extreme enlargement of very small sources still shows softness.
Upscaling already-compressed images. Screenshots that have been re-saved many times carry compression artifacts. These artifacts get enlarged along with the real detail, so the result can look blocky.
Enlarging in multiple rounds. Upscaling, saving, and upscaling again compounds small imperfections each time. Enlarge once, directly to the target size.
Forgetting the final destination. A photo upscaled for a phone wallpaper has different needs than one prepared for an A3 print. Set the target dimensions based on the end use, not on the maximum the tool allows.
Frequently Asked Questions
Is the On4t Image Upscaler free to use?
Yes. The Image Upscaler is a free web tool. You open it in your browser, upload your image, and download the enlarged result without paying or installing anything.
Do I need to create an account?
No sign-up is needed to open the tool page and use the upscaler. You can start enlarging photos right away.
What image formats are supported?
The tool supports common formats such as JPG/JPEG and PNG for upload, and lets you choose your preferred output format when downloading.
How much larger can I make my photo?
The tool offers 2x and 4x enlargement options. For example, a 640 × 480 image can be enlarged to 1280 × 960 (2x) or 2560 × 1920 (4x). Choose the scale that matches your final use.
Will upscaling make a blurry photo perfectly sharp?
No. Upscaling enlarges the image and tries to reconstruct detail, which usually produces a cleaner result than simple resizing. However, it cannot recover detail that was never in the original file. Starting with a decent-quality original gives the best outcome.
Is upscaling better than using a larger photo taken directly?
A genuinely high-resolution original always wins. Upscaling is best used when you cannot get a larger source — for example, with old photos, supplier images, or screenshots you cannot retake.
Can I use the upscaled images commercially?
The tool processes your own image and returns it enlarged. Whether you can use the result commercially depends on your rights to the original photo — make sure you own it or have a license before using it in business projects.
Conclusion
A blurry, undersized photo does not have to stay that way. With a free online Image Upscaler, you can enlarge old photos, screenshots, and small product images in your browser in a matter of seconds — no downloads, no sign-up to open the page. Just remember the golden rules: start with the best original you have, enlarge only as much as you need, and always check the result at full size before you use it.
Try it on a photo that is too small for your needs, and see how much cleaner the enlarged version looks. Once you add upscaling to your workflow, you will stop throwing away perfectly good pictures just because they arrived at the wrong size.